


If you want to extend your Wi-Fi coverage or eliminate weak signal areas, adding another Deco unit to your existing TP-Link network is the most effective way. In this guide, we’ll use the Deco P9 as an example, but the same process applies to other models like Deco M5, P7, M9 Plus, X20, and X60.
Step-by-Step Guide to Add a New Deco Unit
1. Open the Deco App
Tap the [+] icon in the top-right corner of the Deco app to start adding a new Deco unit.
You will see a list of Deco models — select the correct one based on your device type.
2. Select Your Deco Model
Choose the Deco icon that matches the model number printed at the bottom of your device (for example, Deco P9, M5, or X20).
3. Choose Your Home Layout
Select the layout that best matches your home’s structure, then tap “Next.”
4. Power On the New Deco
Plug in the new Deco unit and wait for its LED to turn to pulsing blue. Once ready, tap “Deco’s LED is pulsing blue” in the app.
Note: If the LED doesn’t turn blue, press the RESET button for about one second and release. The LED will first turn yellow and then change to pulsing blue after about two minutes.
5. Wait for the Main Deco to Detect the New Unit
The main Deco will automatically search for the new unit. Keep your phone connected to your Deco’s Wi-Fi during this process to avoid disconnection.
6. Assign a Room Name
Once the new Deco is detected, select a room name or identifier (for example, “Living Room” or “Office”). This helps you manage and monitor your devices more easily within the app.
7. Network Optimization
The new Deco will automatically synchronize and optimize its network settings to ensure seamless roaming and load balancing within your existing Deco mesh.
8. Setup Complete
Your new Deco unit is now successfully connected! You can add more units if needed or tap “Finish” to exit the setup.
Tips to Optimize Your TP-Link Deco Network
- Use compatible models: Mixing different generations of Deco units (e.g., M4 + X60) may reduce performance. For best results, keep models within the same series.
- Check signal quality: After setup, open the Deco app to confirm your new node shows a “Good” or “Excellent” signal.
- Update firmware: Ensure all Deco units are running the latest firmware for the best performance and stability.
- Optimal placement: Place your new Deco halfway between your main unit and the weak signal area for the strongest coverage.
Troubleshooting Common Issues
- LED not turning blue: Reset the new Deco as described above and wait 2–3 minutes.
- Failed to connect: Ensure the phone is on the same Wi-Fi network as the main Deco.
- Weak signal: Move the new Deco closer to the main unit and check the app’s “Signal Source” indicator.
Once you’ve expanded your Deco network, enjoy smooth, uninterrupted Wi-Fi throughout your home.
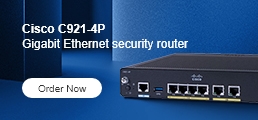
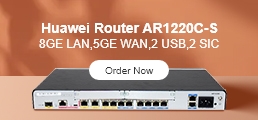
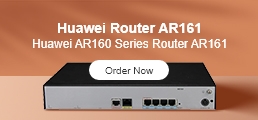
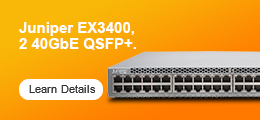
By the way, if you’re planning to buy more units or upgrade your setup, you can check the latest prices of TP-Link WiFi Routers on Router-switch.com — your trusted supplier for TP-Link, Cisco, and other enterprise network products.
Learn more:
How to Configure TP-Link Range Extender?
What Should Be Paid Attention To When Choosing Antenna For TP-Link Router?
Why Can't I Log In To The Web Management Utility Of The TP-Link Device?
What Is Running Out of IPv4? What Is IPv6?
How to Change the MTU Settings in TP-Link WiFi Routers?
FAQs About The TP-Link Routers' speed
How To Set Up IPv6 Service On The TP-Link Wireless Router?
How To Make The GE Port Of The AP To Provide Service?
How To Update TP-Link Router Firmware?
How To Setup TP-Link WiFi Router?
How to Connect TP-Link Router to Modem?
How to setup TP-Link AC2300 MU-MIMO router?
Can Different TP-Link Deco Models Work Together?

Expertise Builds Trust
20+ Years • 200+ Countries • 21500+ Customers/Projects
CCIE · JNCIE · NSE7 · ACDX · HPE Master ASE · Dell Server/AI Expert


