OLT Capacity Planning for GPON Access NetworksPlan OLT capacity for GPON OLT systems and EA5800 capacity planning, optimizing GPON split ratio and OLT uplink design for scalable fiber access.
Enterprise OLT Platform Selection for Fiber AccessDesign enterprise OLT platform strategy for GPON OLT platform, modular OLT chassis, and OLT service boards to scale passive optical LAN and XG-PON evolution.
Tunnel Video Surveillance VLAN Stability over FiberDesign stable tunnel video surveillance VLANs using optical transport backbone and Arista fiber aggregation for resilient Huawei OptiX OSN CCTV networks.
Fiber vs Copper in Industrial Networks Design GuideCompare fiber vs copper in industrial ethernet, plan hybrid industrial fiber network designs, and select rugged ethernet switches and industrial SFP transceivers.
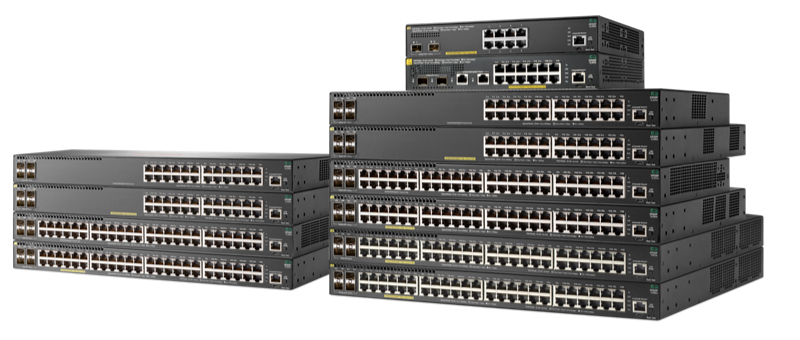
The HPE Aruba 2930F switch series is widely deployed in enterprise networks for its reliability and scalability. Understanding the default credentials and proper access procedures is essential for secure and efficient management. This guide walks you through the default login, initial setup, password management, troubleshooting, and enterprise best practices.
Part 1: Understand the default username and password
Before connecting your Aruba 2930F switch, it’s important to know the default credentials and how they behave depending on whether the switch is brand-new or has been factory reset.
Brand-new switch (console access): Usually no password is required on the initial serial connection. This allows you to perform the initial setup without login interruption.
After factory reset or general Aruba switches: Default username is admin and password is admin. Some devices may alternatively use password for the password field.
Default VLAN IP: VLAN 1 typically obtains an IP via DHCP. If no DHCP server is present, a static IP must be assigned through console configuration.
⚠️ Always change default credentials immediately to prevent unauthorized access.
Part 2: Access your Aruba 2930F switch
You can access the switch via console, Web GUI, or SSH. Each method has its steps and prerequisites.
2.1 Console Access
Connect a USB or RJ45 console cable from your computer to the switch console port.
Identify the COM port in Device Manager (Windows) or use ls /dev/tty.* on macOS/Linux.
Open a terminal emulator such as PuTTY or Tera Term.
Configure serial settings: 9600 baud, 8 data bits, no parity, 1 stop bit.
Power on or reboot the switch. For a new switch, no password is required initially.
If the switch was reset, use admin/admin to log in.
2.2 Web GUI Access
Ensure your computer is on the same network and can reach the switch IP.
Open a browser and enter the switch IP (e.g., http://192.168.1.10).
Enter the username and password (default admin/admin after reset).
Access configuration, monitoring, and updates through the graphical interface.
2.3 SSH Access
Ensure SSH is enabled on the switch and network connectivity is valid.
Use an SSH client to connect to the switch IP.
Enter your username and password (default or configured).
SSH provides secure remote access for ongoing configuration.
Part 3: Initial configuration and password change
Securing your switch starts with assigning proper IP addresses and changing default credentials.
Save configuration with write memory or save configuration.
Exit configuration mode.
Part 4: Best practices, troubleshooting, and enterprise deployment
Maintaining a secure and stable network requires adherence to best practices and structured deployment.
Security Best Practices
Change default credentials immediately.
Use complex and unique passwords.
Rotate passwords periodically.
Keep firmware updated.
Restrict management access using ACLs.
Common Login Issues
Problem
Solution
Wrong credentials
Confirm correct default or updated login
Login fails after reset
Use admin/admin
Reset not successful
Hold reset button 5–10 seconds
Device not fully booted
Wait until boot completes
No Web/SSH response
Verify subnet and connectivity; use console if needed
Factory Reset Procedure
Locate the recessed Reset button.
Press and hold for 5–10 seconds.
Wait for the switch to reboot.
Log in with default credentials admin/admin.
Reconfigure VLANs, IPs, and security settings as needed.
Enterprise Deployment Tips
Use Aruba Central for centralized management and batch configuration.
Maintain dual firmware images for redundancy.
Standardize VLAN and SNMP templates across switches.
Schedule regular backups.
Apply consistent security and password policies.
FAQs
Q1: What is the default username and password for Aruba 2930F?
A1: After factory reset, username is admin and password is admin. Brand-new switches via console may not require a password.
Q2: How do I assign an IP address if DHCP is unavailable?
A2: Use CLI to assign a static IP under VLAN 1. Example shown in Part 3.
Q3: How do I reset my Aruba 2930F to factory defaults?
A3: Press and hold the reset button for 5–10 seconds, then log in with default credentials.
Q4: Can I configure VLANs or SNMP on multiple switches at once?
A4: Yes. Aruba Central allows batch configuration and centralized management.
Conclusion
Knowing the default username and password, initial access procedures, password management, and enterprise deployment best practices ensures your Aruba 2930F switches are secure and efficiently integrated. Follow these steps to maintain a robust and reliable network infrastructure.
Expertise Builds Trust
20+ Years • 200+ Countries • 21500+ Customers/Projects CCIE · JNCIE · NSE7 · ACDX · HPE Master ASE · Dell Server/AI Expert